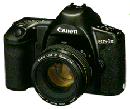
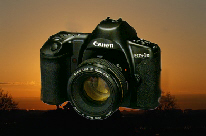
 Buying
a Camera Buying
a Camera
Buying the right camera can be
confusing. Think about what you want to do with the camera before you
begin the search. Many people buy the wrong camera for their needs and
become very disappointed in their selections, think before you buy! |
|
|
 Questions you might think about! Questions you might think about! |
|
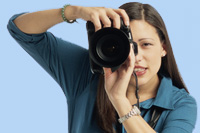
What do you plan to shoot? |
|
Where do you plan to take pictures? |
|
What kind of pictures do you plan to take? |
| How much time do you want to spend setting up your pictures? |
| What kind of subjects do you plan to shoot? |
| How much money do you want to spend? |
|
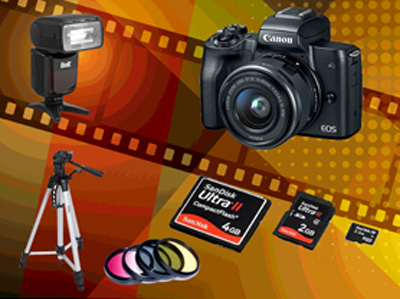
Picking the Camera. |
|
Take into account the many types of cameras
are available and that not all of them are the same or capable of
quality photography. If you are not really serious about your work a
smartphone will do. |
| Do some homework, check the internet and the different
stores for reviews and availability. |
|
Check out the different models for friendliness and quality. |
|
See what each camera can and can not do. |
|
Does it feel right to you or do you find it cumbersome and
too heavy? |
|
Will it work for you if you are left handed? |
|
What do you prefer a new camera or a used camera? |
|
Can you afford it? |
|
How long of a guarantee does it have? |
|
What kinds of filters, flashes and lenses are available? |
|
How often do you realistically plan to use the camera? Why pay
thousands of dollars for a camera you will only use once or twice a
year. |
|
Decision Time: |
|
Check out the different stores (both brick and internet) for the best
prices. |
|
Ask questions about the camera's functions and reliability. |
|
Take a photography class. |
|
Read and reread the directions. |
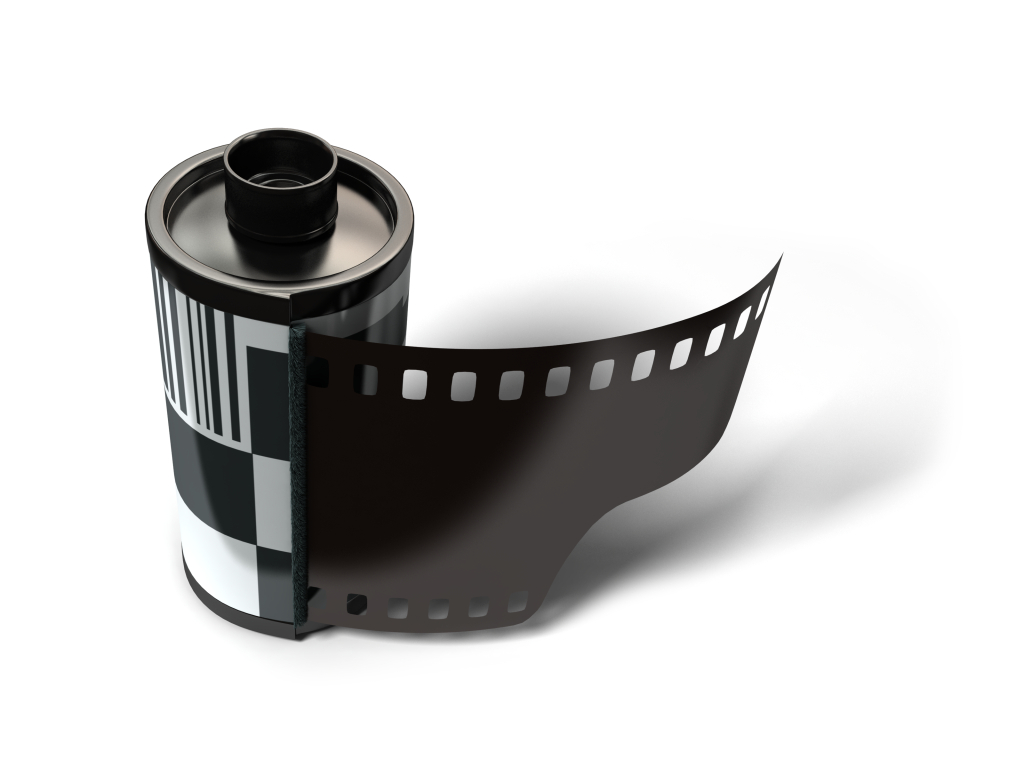 Film Film
Like cameras, the film you need will also
depend on how you plan to use it. Remember that not
all films are created equal. Some have better colors
and better processing quality. . A great picture
can be lost because you used the wrong film. Review
the
film chart
and determine which type of film best fits your
needs.
More information can be
found at
How to Choose the Right Camera Film eHow.com
|
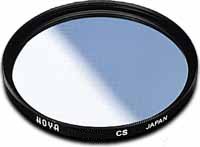 Filter Filter
Filters enhance lighting or change environmental
conditions. They can create dramatic interpretive
and artist images. Most photographers like to keep
on their camera a No. 1A skylight filter. Skylight
filter block out the overcast bluishness or the
effects of shade on a picture. Furthermore a 1A
helps to protect the camera lens.
More
information can be found at:
Camerafilters.com
or
Camera
Filters by Ira Tifen
Read more:
Buyers Guide |
 Lens Lens
Point and shoot cameras have a built in
lens. Some have a very simple lens, while others
have a more complex telephoto system. The APS have
an electronic system that you can chose the lens
type. But the SLR cameras give you the choice of
what type of lens
you wish to put on the
camera. That is perhaps its greatest advantage over
the other types of cameras. Check the
lens chart
and select which lens you want to use.
More information can be found at
Wikipedia Photographic Lens, and
Camera Lens
Read
more:
Buyers
Guide |
 Light
Meter Light
Meter
"A light
meter is a
device used to measure the amount of light.
In photography,
a light meter is often used to determine the proper exposure for
a photograph. Typically a light meter will include a
computer, either digital or analog,
which allows the photographer to determine which shutter
speed and f-number should
be selected for an optimum exposure, given a certain
lighting situation and film
speed.
Light meters are also
used in the fields of cinematography and scenic
design, in
order to determine the optimum light level for a scene. They
are used in the general field of lighting,
where they can help to reduce the amount of waste light used
in the home, light
pollution outdoors, and plant growing to
ensure proper light levels." Read More:
Wikipedia,
BH Photo, Buyers Guide |
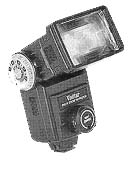 Flash Flash
Point and shoot cameras have built in flashes. Push
the button and up it pops. Remember they are very
limited, so don't expect a great deal. They can
cause red eye, darker than expected pictures and a
washing away of colors.
Some SLRs also come with built in flashes, as well
as hot shoe connectors for the flash. You can not in
most instances use them both at the same time.
Make sure the flash you buy will match your camera.
Not all flashes will work with all cameras.
More information can be found at
How to Buy a Camera Flash - eHow.com
and
How a Flash Works
Read more:
Buyers Guide |
|
Types of Flashes |
|
Manual Flash- The photographer
determines the proper exposure by matching the speed of the film, the distance
from the subject and the light output of the flash. |
|
Automatic Flash- The proper amount of
light is determined by the flash after you set the aperture using a calculator
on the back of the unit. A light sensor will set the duration of the flash and
thus insure the correct exposure. |
|
Dedicated Flash- This flash uses the
camera itself to determine the correct shutter speed, exposure and duration of
the flash. It relies on the camera's metering system, TTL(through the lens) to
determine what is suitable. It is and automatic system which ensures a better
image. Make sure the unit matches your camera type. |
Lighting
Lighting can play a crucial roll in making a great
picture and making a snapshot. Understanding the
direction the light is coming from, the amount of
light available and the softness as well as the
harshness of the light can determine the quality of
your work. Hot spots can happen if you take pictures
in an area under a tree. People will squint if the
light is in their eyes. Flares will happen if you
point the camera in the wrong direction. So take
into account the light around you when you are
shooting. Decide what effects you want before
hitting the shutter release. Wait if the light is
not what you want. It can be worth it!
More information can be found at:
Photographic Lighting or
Basic Photography Techniques-Lighting: Outdoor and
Existing.
|
|
Picture Problem: Ever wondered
what is a flare? Or have you noticed the feared "red
eyes" on your precious photo! These and other
problems are discussed by clicking below!
Other tips can also be found in the
Questions and Answers
section! |
|
Trade Secrets |
| 1.
Never shoot facing the
sun.
|
| 2.
Avoid shooting subjects with the sun in their face. (causes
squinting)
|
| 3.
Avoid shooting pictures with a mirror or glass as a backdrop,
(causes a spot of light).
|
| 4.
Check the picture completely before pressing the shutter
release. Carefully scan the image from one side of the
viewfinder to the other. Make sure everything is the way you
want it before you push that shutter.
|
| 5.
Avoid taking a picture where something is bright red. The viewer
will see the red and miss the rest of your picture.
|
| 6.
Avoid taking a picture where something is bright red. The viewer
will see the red and miss the rest of your picture |
| 7.
Shoot before 11 am and after 1 pm. Those times will give you the
best shadows without glare.
|
| 8.
Check what is behind the subject. You might have a pole sticking
out of your subject's head.
|
| 9.
Don't put your main subject directly in the center of the frame.
( This is called bulls eye) Try setting it to the right or left
of center. |
| 10.
Be
patient. Many a great picture took time to create.
|
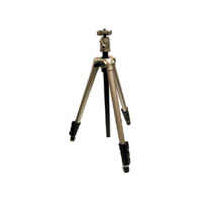
| 11.
In
shooting low light, use a tripod, high speed film and set your
exposure controls accordingly. (See Exposure controls in
Resource)
|
| 12.
Be
sure you have plenty of disks. Running out of didks can be such
a bummer.
|
| 13.
Be
sure you check and change your batteries regularly. Put your
batteries in the camera correctly after they have been checked.
|
| 14.
At
first keep a running record of your pictures and compare the
results with your records. Thus you know what you did wrong, (
Throw the terrible shots away).
|
| 15.
Talk to professionals and advanced amateurs they can be a
valuable source of information. |
| 16.
Read the manual, not all cameras, flashes and lenses are
alike. Controls and capabilities can very from one unit to
another. Furthermore practice with the camera before you shoot
those pictures. |
| 17.
The best way to learn how to take pictures is by taking
pictures!
|
|